

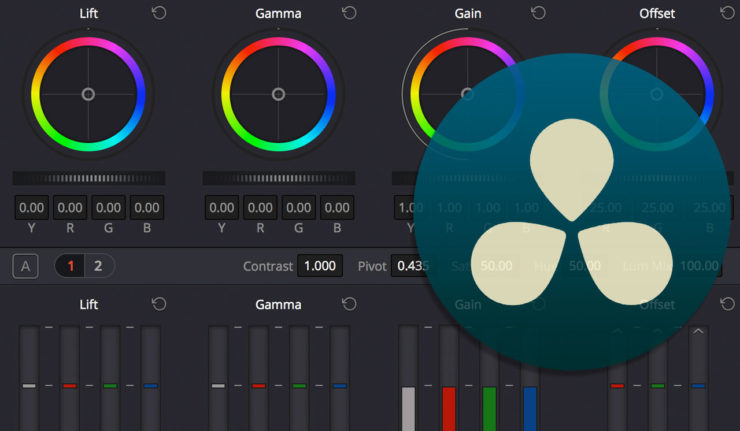
Primary Correction
Begin to grade the linear colour information in the YRGB colour science. I tend to use Primaries in the Color Wheels dialog, as this is where I’m most comfortable controlling an image. Starting with the Lift to adjust the shadow density, then the Gain to control the highlights, if these are pushed too high you will clip the image at maximum white. Now that I have created a box to work within on my scopes, I can work with the Gamma to set the overall luminance of an image to match the tone of the scene and surrounding clips. These contrast adjustments are not limited by one another, if you push this too far it will affect the black and white points regardless of your box. Once we find a good overall luminance for the image I begin to work with the Color Wheels in a reverse order back towards Lift. You can Reset all of these individually, or from the option dropdown select ‘Reset’ to apply to all the primary settings. The settings at the bottom of the panel will let you Auto Color this particular shot. Contrast to increase or reduce the gap of darkest to lightest. Pivot to affect the center of tonality, defining which parts of the image are stretched or narrowed during the contrast adjustment. Saturation increases or decreases overall image saturation. Hue will shift the colours by rotating the wheel, affecting all the channels. Lum Mix controls the balance between YRGB adjustments made with the Color Wheels or Custom Curves, and Luminance only adjustments to contrast using Life/Gamma/Gain controls or unganged Luma Curve.
Log 'Logarithmic' Grading
If you’re working with Log material then switch the Color Wheels to Log mode, and tweaking the Log or similar gamma and colour encoding after it has been normalized by a LUT, or manual adjustments. If you want to normalize a clip without a LUT, you can add a second node to stretch the contrast to where you want. Now all adjustments to the Log controls in Node 1 can be made prior to the normalization adjustment. Log controls can be done with LUT’s as well, but it’s important these Log control adjustments happen before normalizing adjustments. A good workflow to follow is settings the black point with the Offset Master, then adjusting the Offset Color Balance for the overall colour balance of your image, and lastly the Shadow/Midtone/Highlight adjustments.
The boundaries of these controls can be modified with the Low Range where the Shadow and Midtones meet, lowering this will widens the range of the midtones, and reduces the range of the shadows. High Range is where the Midtones and Highlights meet. This helps create room for more specific contrast and colour adjustments.
These Log controls can be used after footage is normalized, such as a RED footage with the Gamma Curve selection from the Raw Settings. The result will be different than the Log footage process, but will help create stylized looks and for subtle adjustments to be made easily. If the settings are pushed too far you will create solarization effects because the shadows are higher than the midtones, or highlights below the midtones.
Primaries Palette
All your modifications from the Color Wheels can be visualized alternatively with the Primaries Palette. This can be a good way to monitor your work, and have a simplified view of how you pushed various channels. When working with a mouse, tablet, or trackpad these can quickly help you work with the RGB Parade Scope to fix irregular colour in specific channels. The Luma channels will work independently of the colours, so you will have a reduced effect on the saturation.
RGB Mixer
To remix the different amount of data from one channel to another we use the RGB Mixer Palette. This can also be used to add colour channel information into a monochrome image. There is a setting to Preserve Lumiance that will prevent the Luma channel from being modified when you’re changing the value of the colour channels. There are also Swap Channel buttons that allow you to create stylized looks, or reverse two channels that are accidently reversed.
Motion Effects Palette
enables you to apply Spatial or Temporal noise reduction and artificial motion blur. Noise reduction requires quite a bit of GPU processing power to subdue noise.
Spacial NR
Controls smooth out regions of high frequency, preserving detail without having to soften. A smaller radius will have faster performance, and a large radius will result in higher quality for areas that have strong visual detail at high Luma and Chroma values. The Luma Threshold limits or adds to the noise reduction applied to the Luma channel. Whereas the Chroma Threshold limits or adds to the noise reduction applied to the Chroma by smoothing out regions of high-frequency noise. Having the Luma and Chroma settings linked will make adjustments to both, if you unlink these you can lower the Luma Threshold to preserve detail, while raising the Choma Threshold to eliminate colour noise. You can limit the effect of the noise reduction with the NR Blend, 0 is invisible, 100 is fully visible.
Temporal NR
analyzes multiple frames of an image to isolate noise from detail. Number of Frames sets the amount of frames you want Resolve to average in order to isolate detail from noise. 2 frames gives you the best analysis, but can create weird artificating. 1 will give you better results for fast-moving images. Motion Est. Type, Motion Range, and Motion threshold all control how resolve interprets the image. These can be set for optimized performance, or for enhanced computation to make sure the best detailed results will be exported. My suggestion is trying Temporal NR first, as its analyzes multiple frames and can yield a better result. The node placement for noise can determine a better result, or worse depending on the source material, and how far you push the information.
Motion Blur
Uses motion estimation to add artificial motion blur to clips. The Motion Est. Type can be Faster to optimize performance and not be as precise of a blur, or Better will require more processing but create a better result. Motion Range determines the speed of motion to consider when trying to define the areas being blurred. With Motion Blur, you can increase or decrease the intensity of the blur.